Previews
xfetch is a cross-platform system information fetching tool written in Rust. It works on Linux, Windows, and macOS — the same binary, the same config, everywhere. This page collects real captures of xfetch running on each platform: animated recordings and still screenshots straight from the terminal.
The main demo
A quick look at xfetch in action: ASCII logo on the left, system modules on the right, colors from the active theme palette. Everything is configurable throughconfig.jsonc — modules, icons, logos, layouts, and colors.
Linux
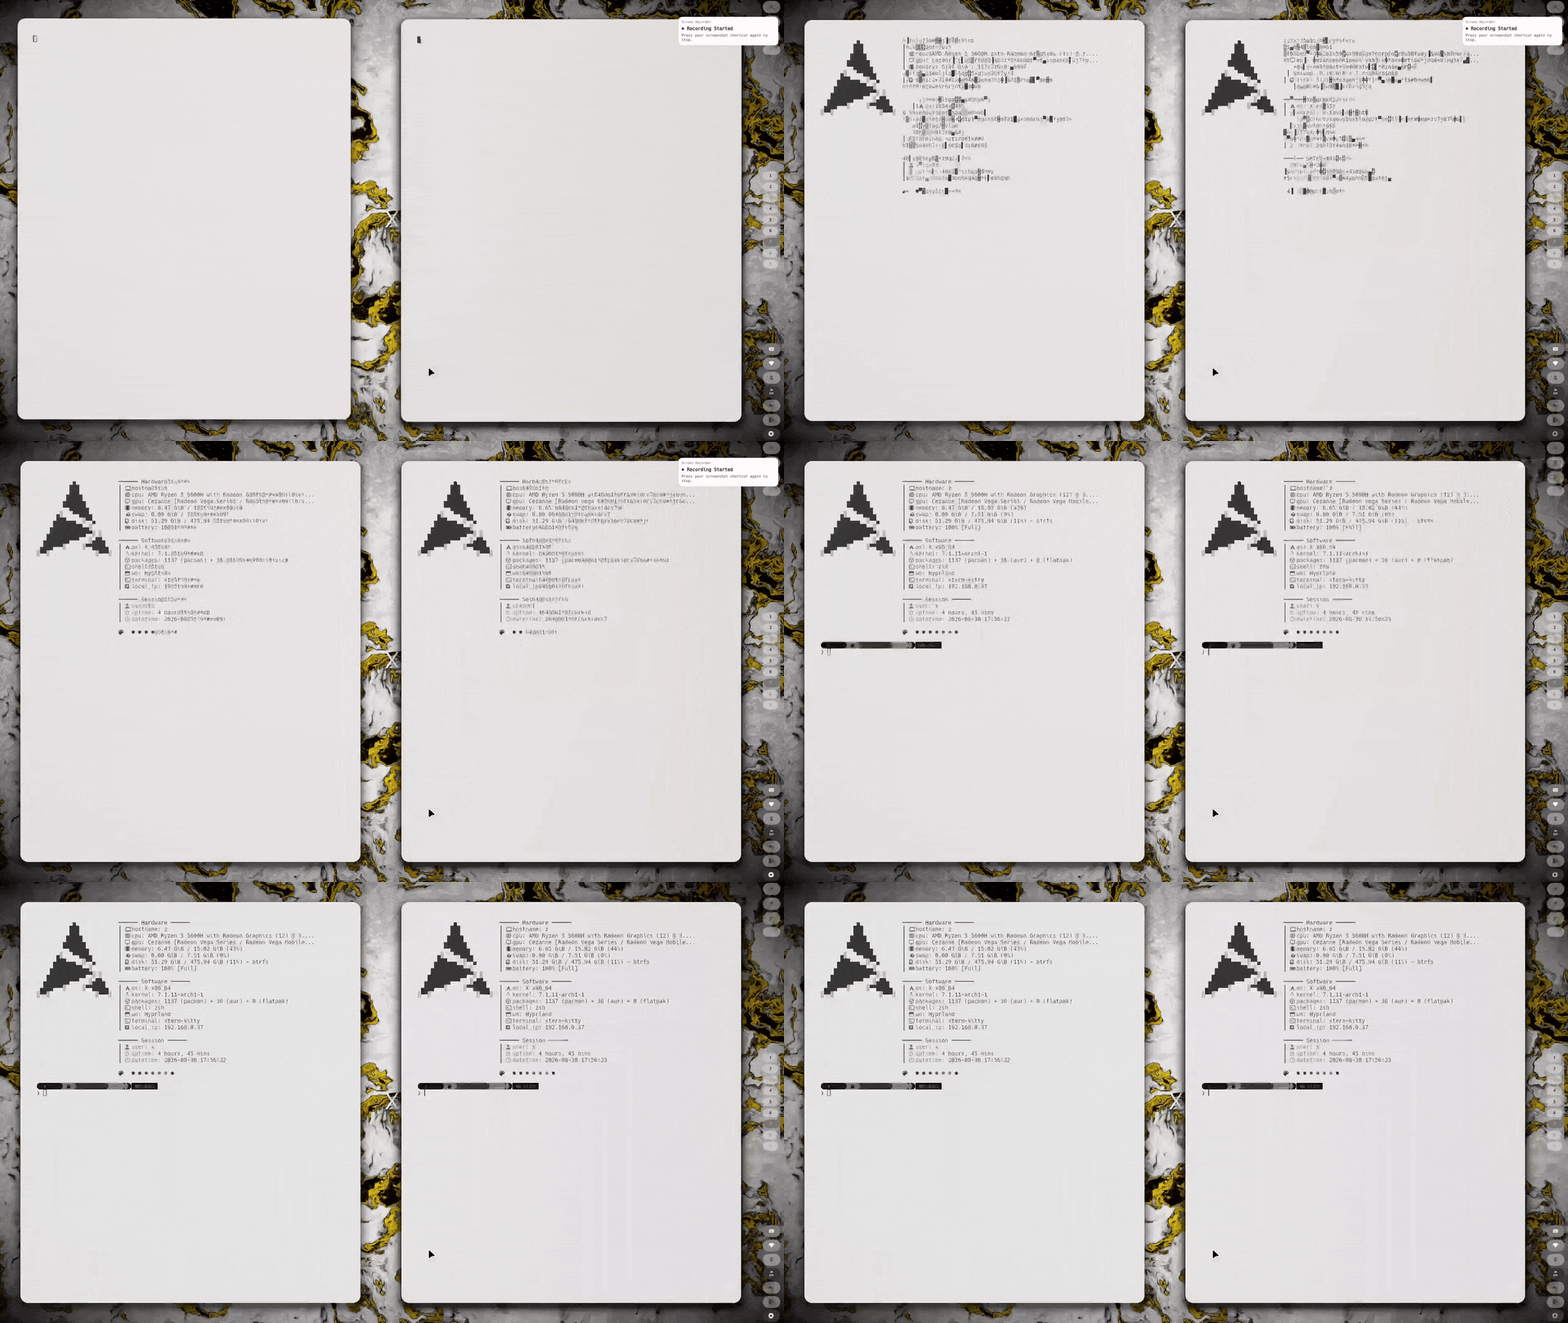
Recorded and captured on real Linux sessions: different layouts, the ANSI color palette module, ASCII logo animations, and package/module counts from pacman, dpkg and friends.
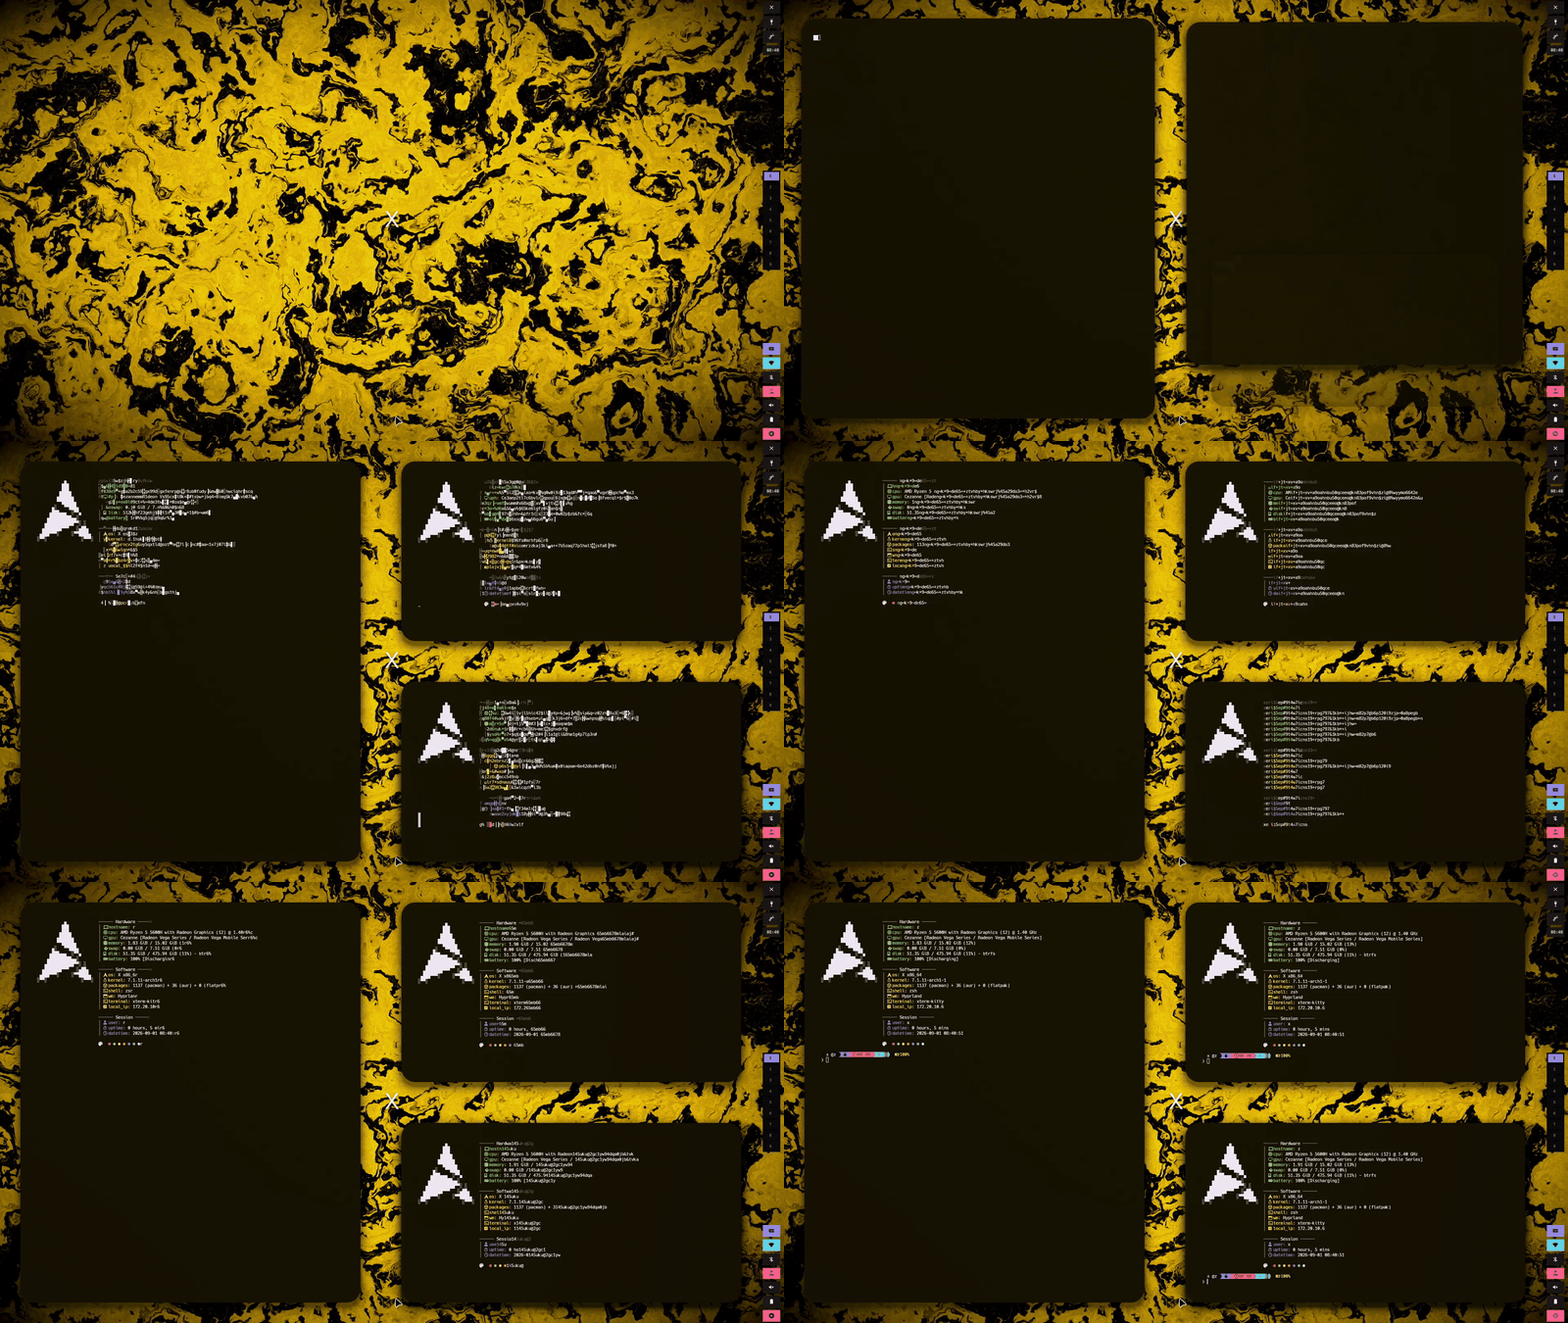
Watch the ASCII logo animate in the recording above: sweep and rainbow effects cycled by the animate-logo plugin, speaking JSON over stdin/stdout.
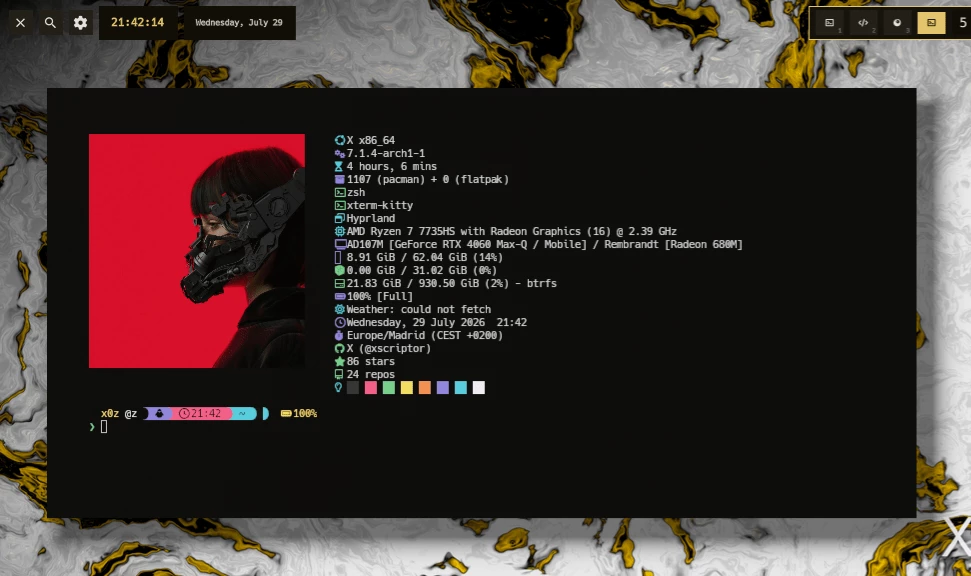
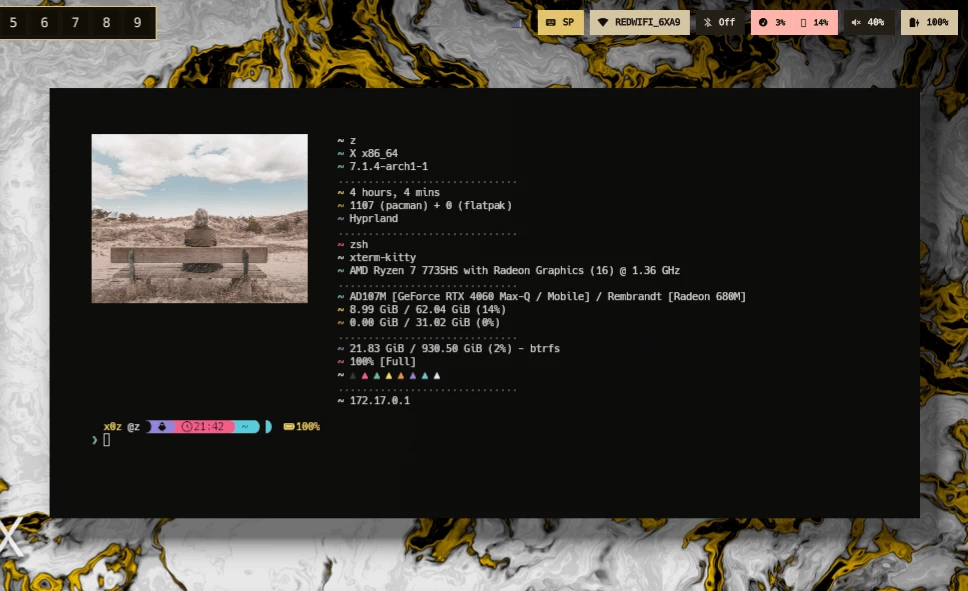
The default side-by-side layout: ASCII logo on the left, system modules on the right — OS, kernel, uptime, packages, shell, CPU, GPU, memory and disk at a glance. Next to it, a custom layout and color scheme from the same config file — xfetch reads config.jsonc at startup, so changing layout, icons or colors is a matter of editing text.
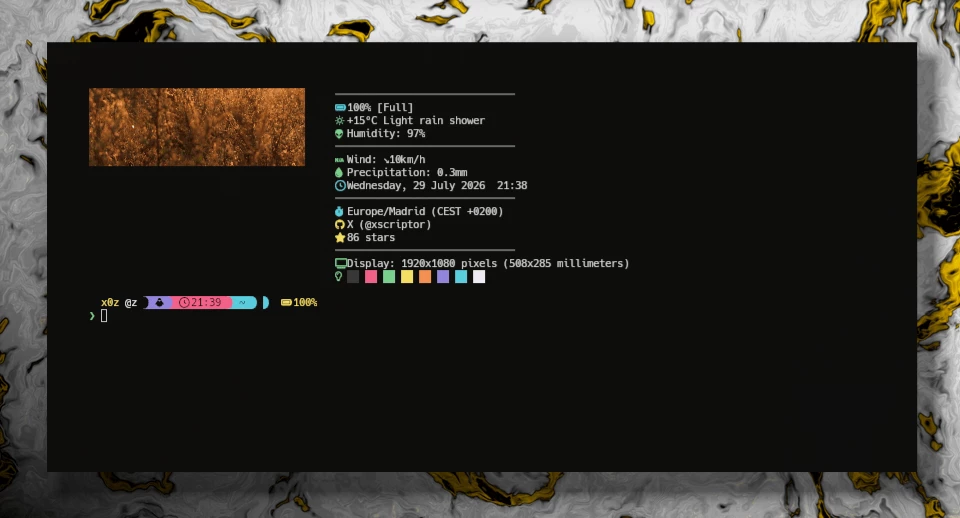
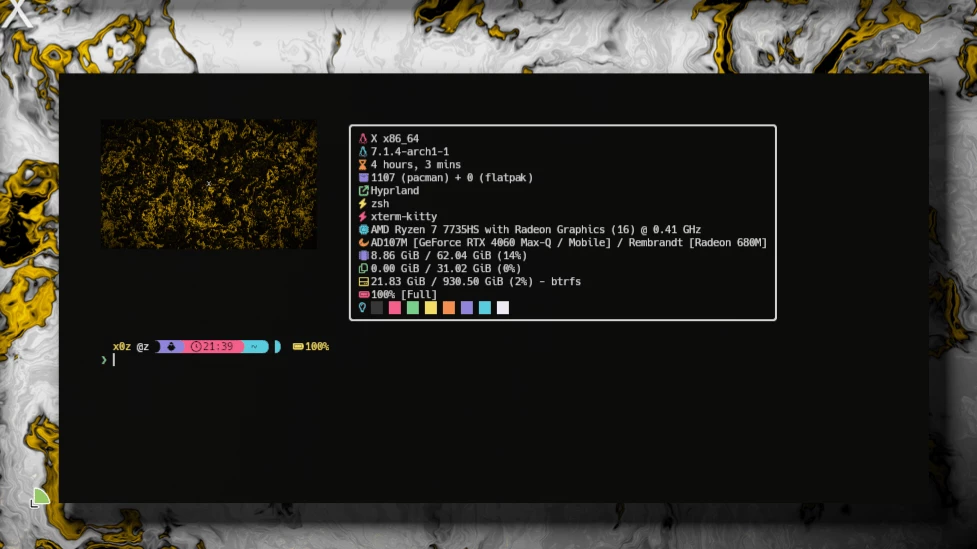
The ANSI color palette module rendered as squares — handy to verify your terminal colors match the theme you picked. And a frame of the logo animation, showing the sweep and rainbow effects the animate-logo plugin cycles through.
Windows
Same tool, same config, different platform: xfetch running inside Windows Terminal with full module detection — OS, kernel, shell, packages via scoop/chocolatey, and the color palette rendered from the Windows console.
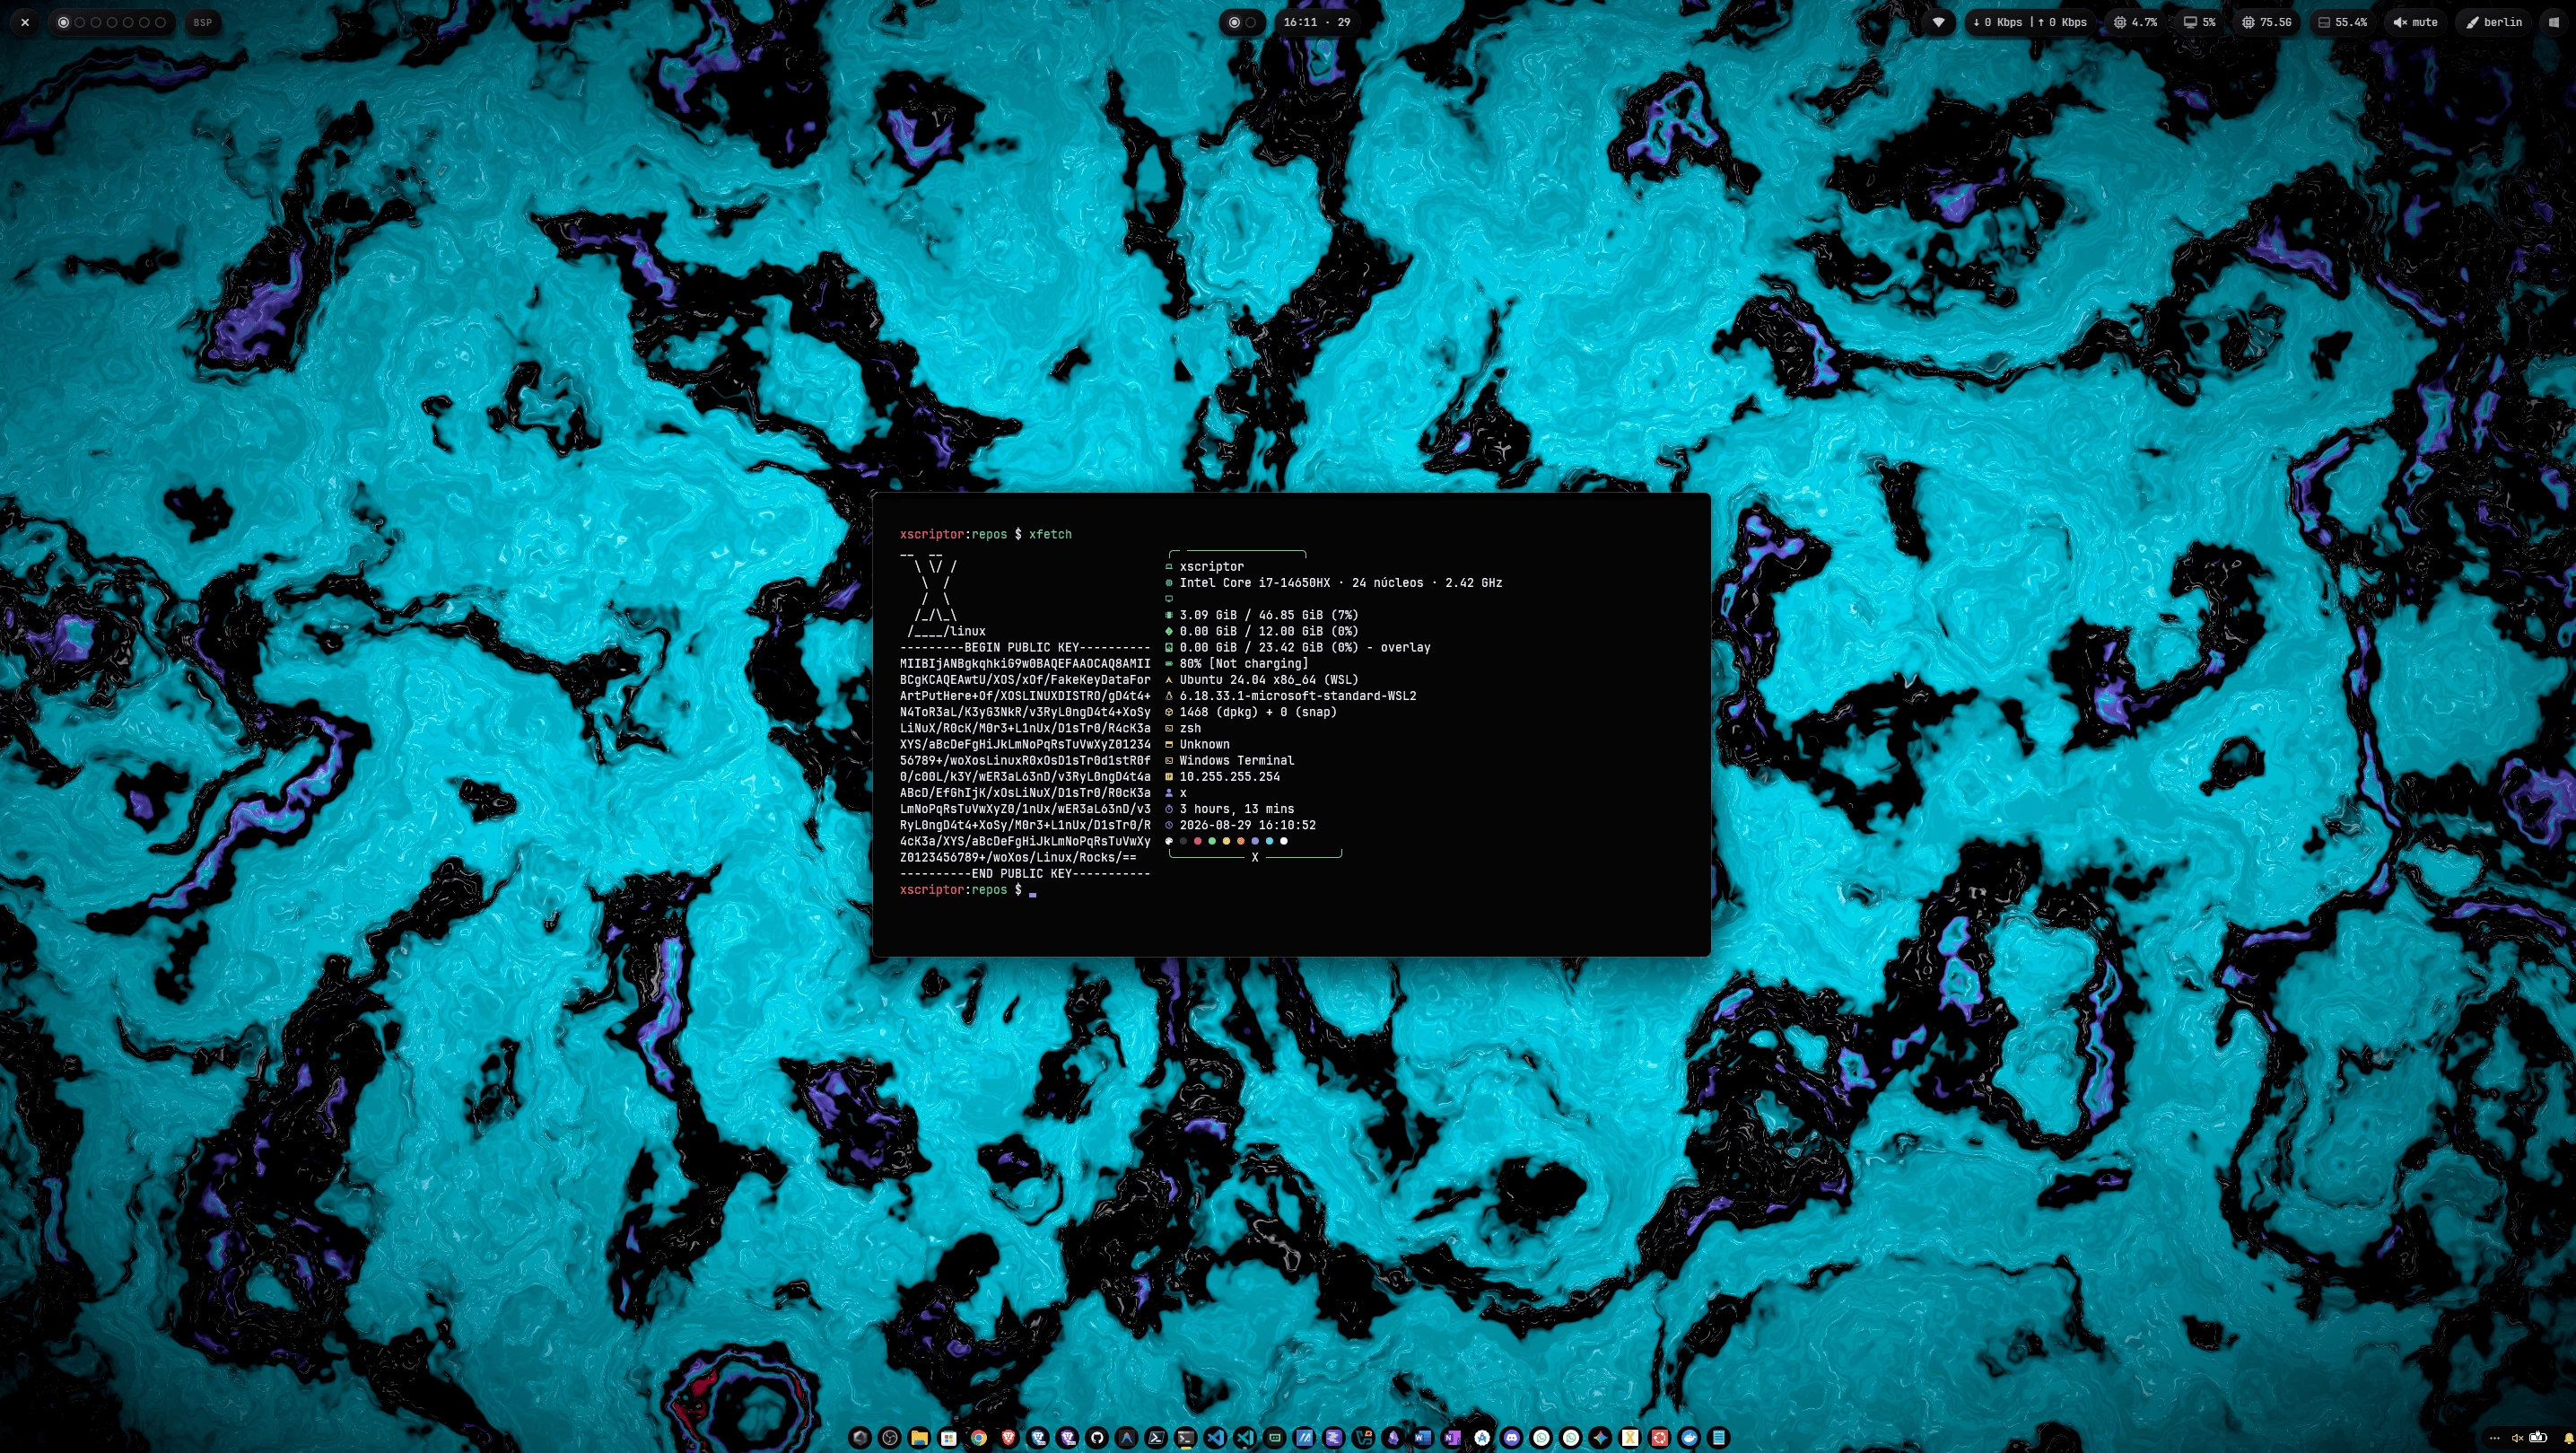
The classic side-by-side layout inside Windows Terminal: ASCII logo on the left, system modules on the right, package count detected via scoop and chocolatey.
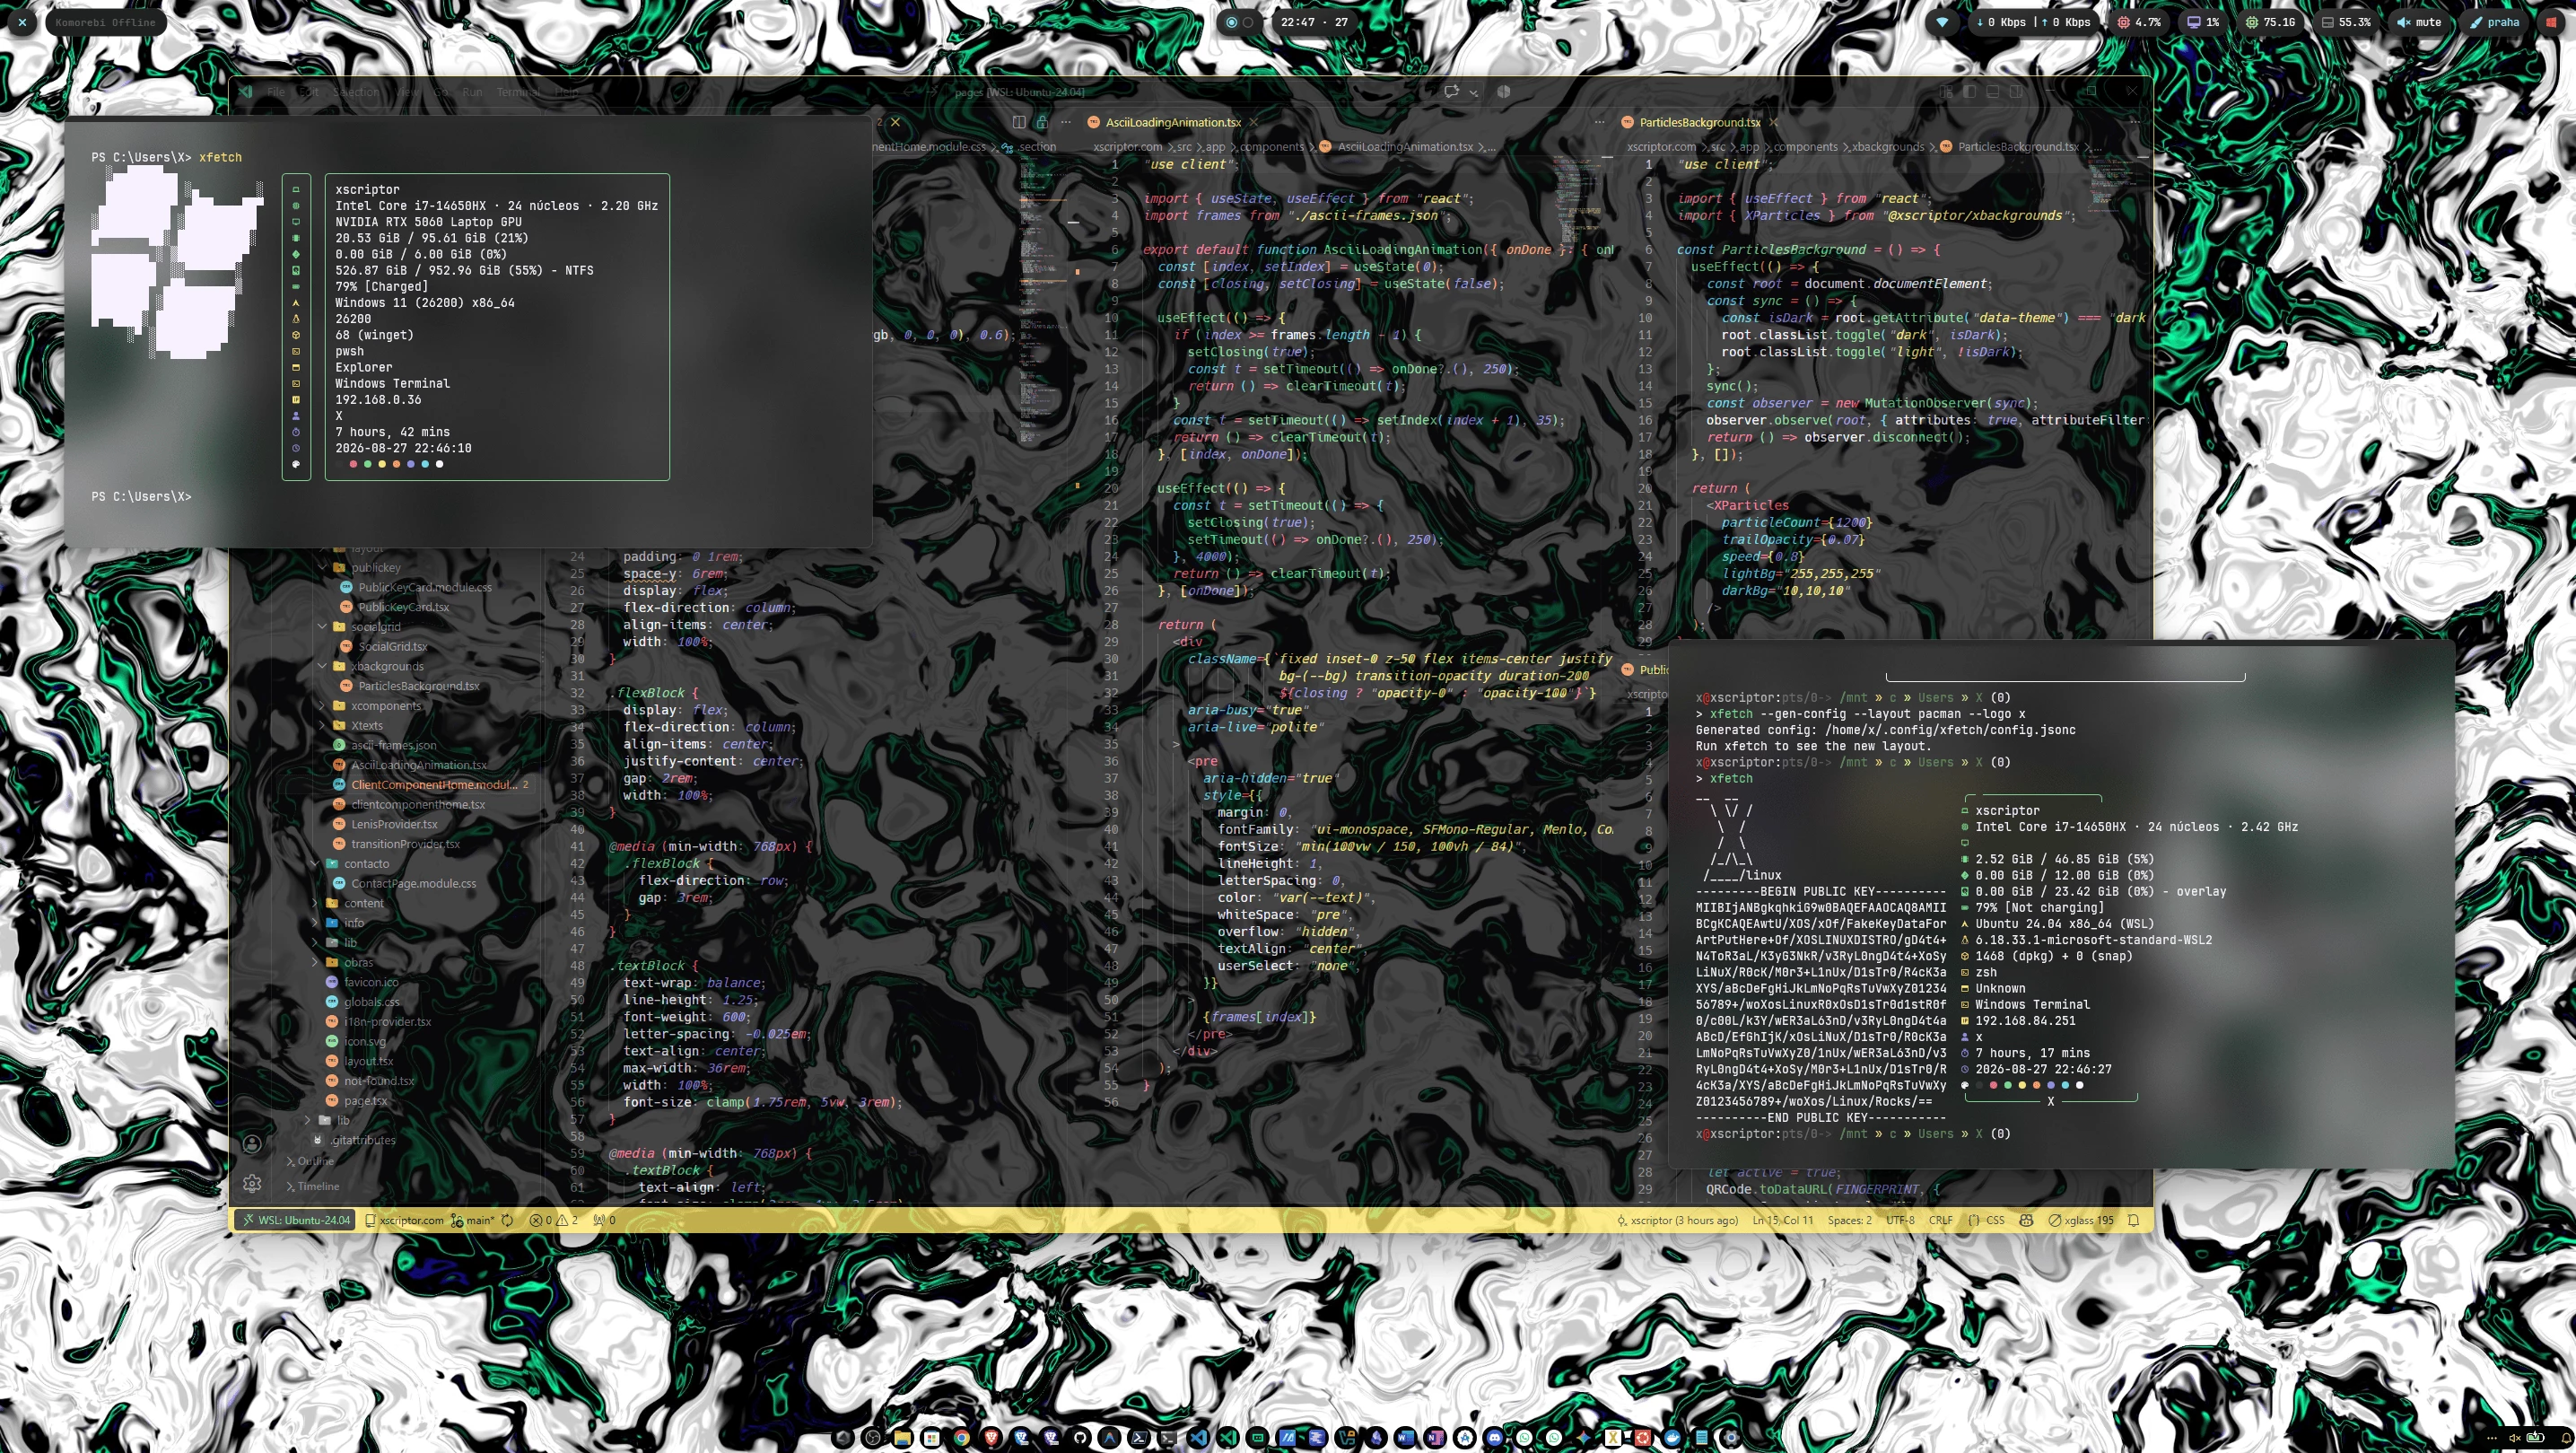
A different layout and color scheme on the same machine — layouts, colors and icons are fully driven by config.jsonc, no rebuilds needed.
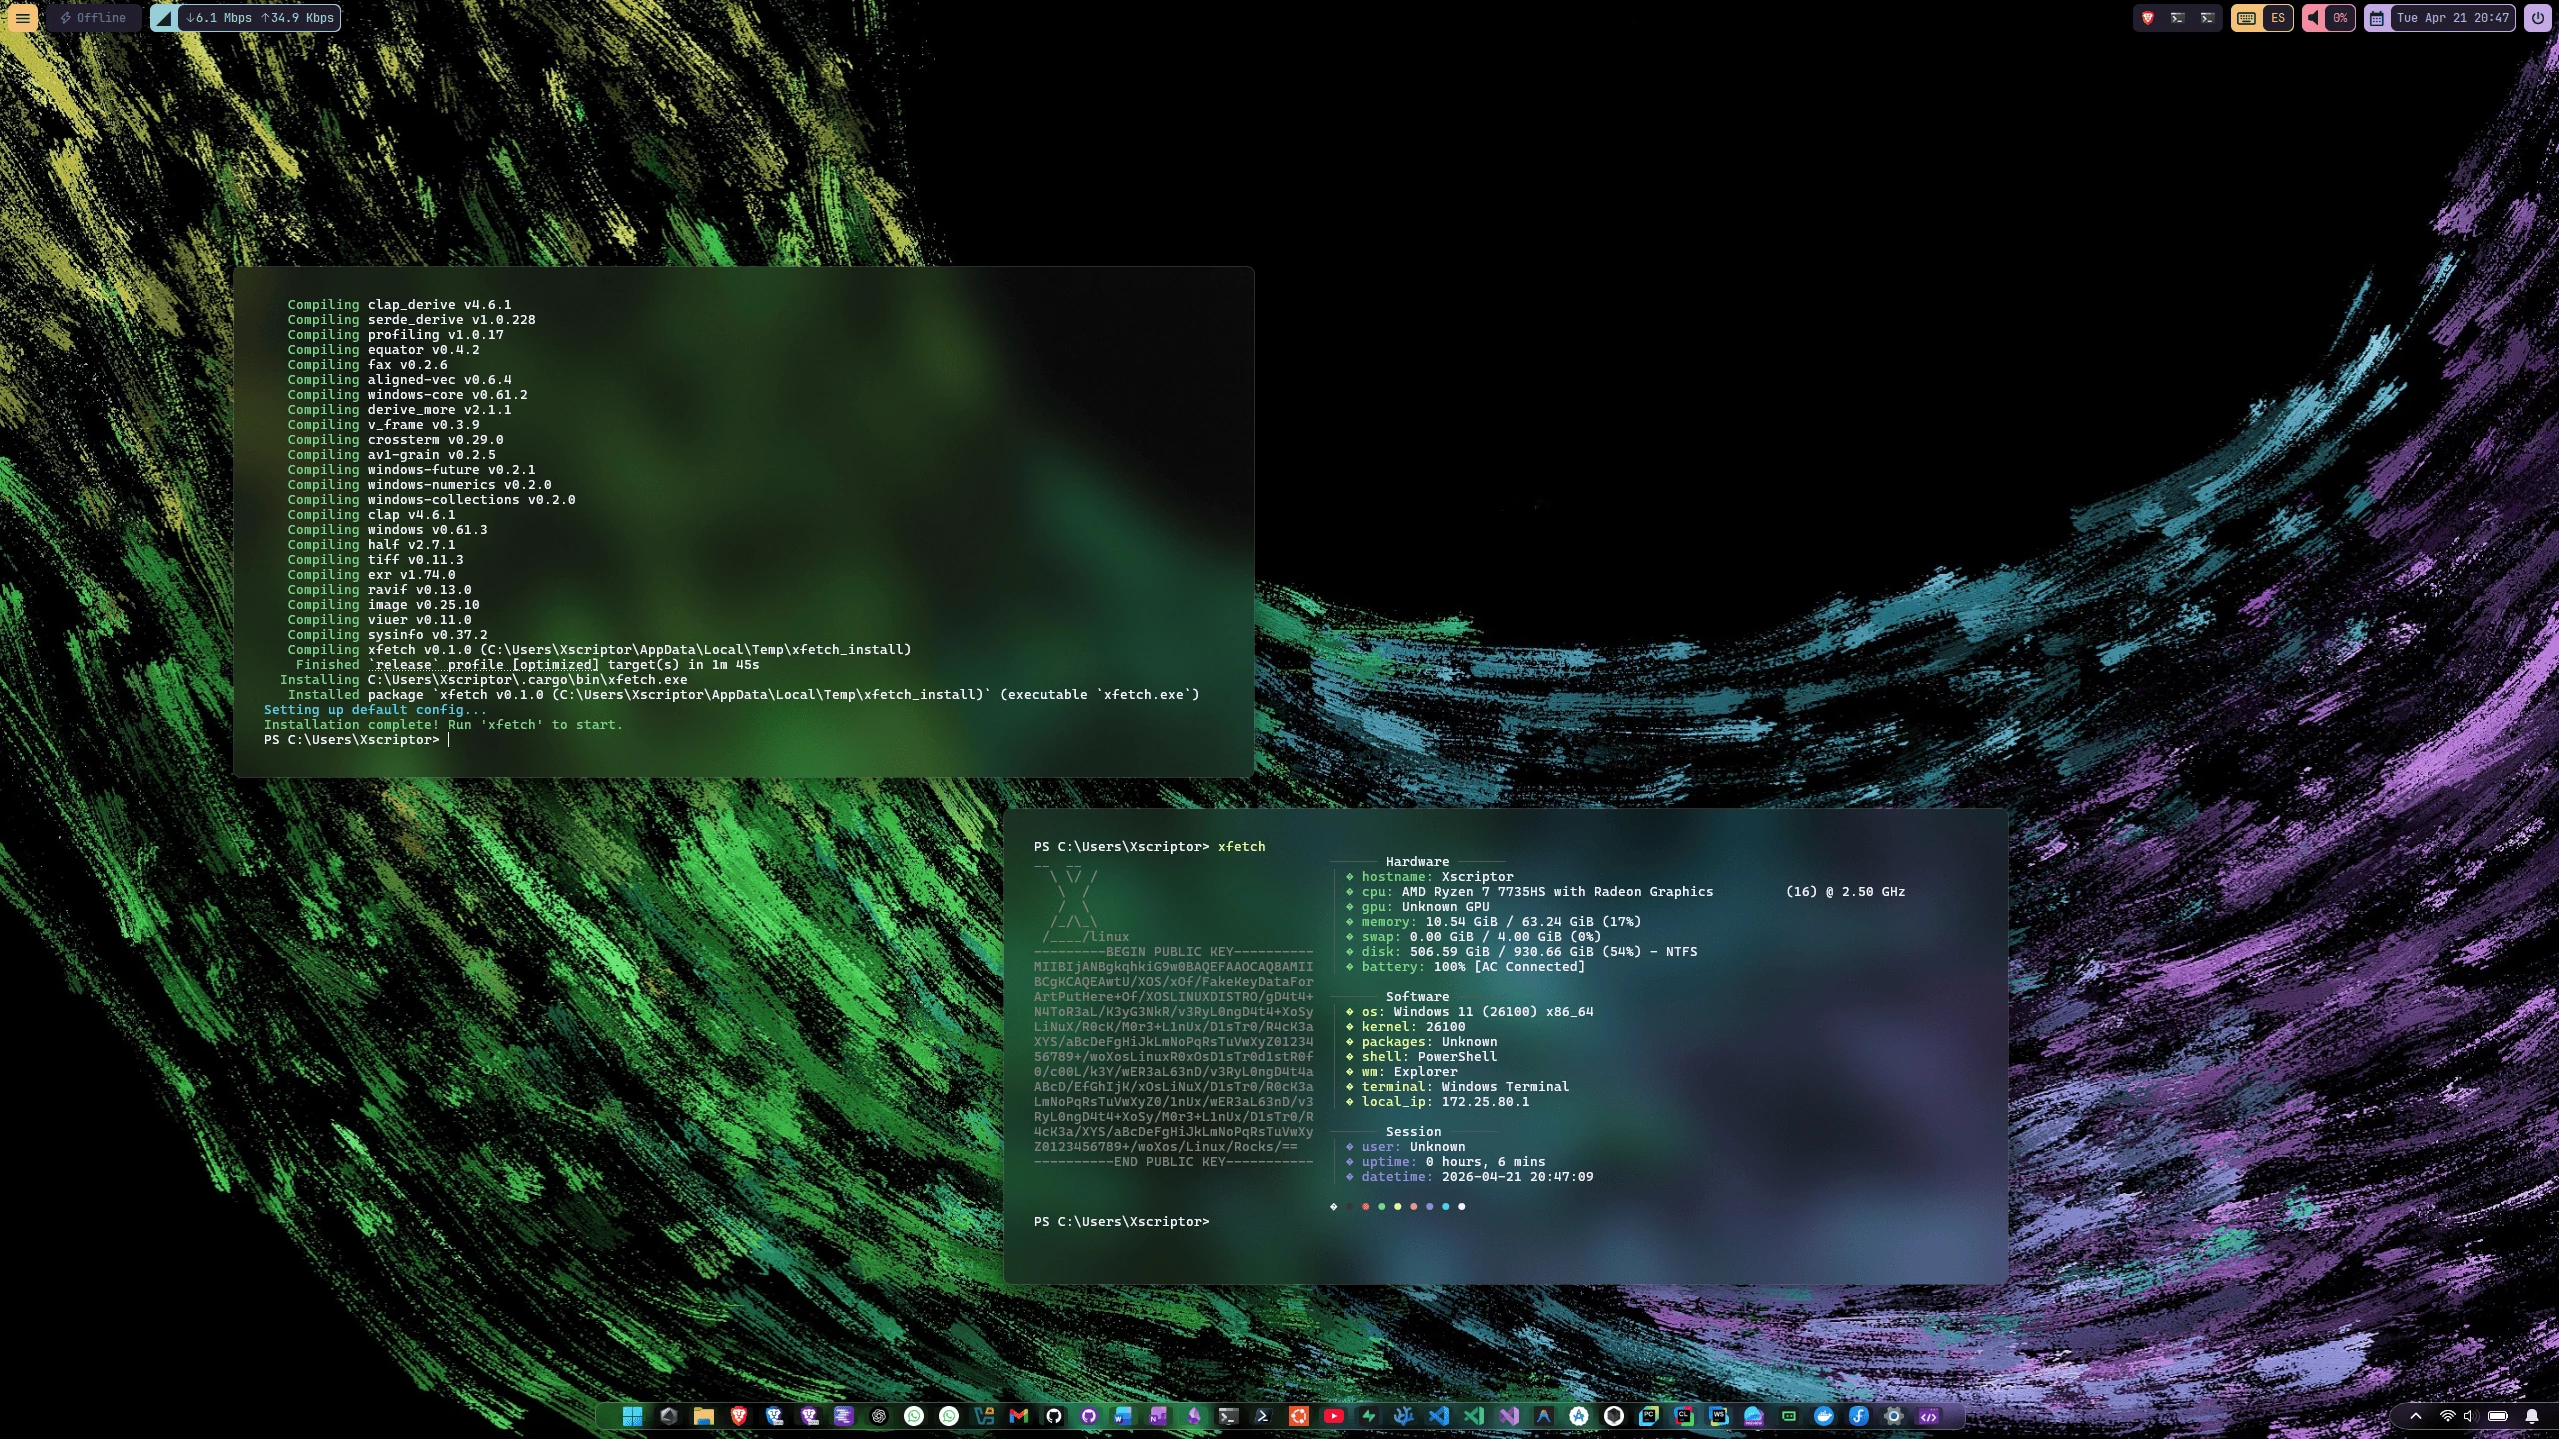
Full desktop capture: xfetch sitting next to the Windows explorer, showing the ANSI palette, GPU info and swap usage.
macOS
xfetch on macOS, running in Terminal or iTerm2 with Homebrew package detection. More macOS captures are on the way.
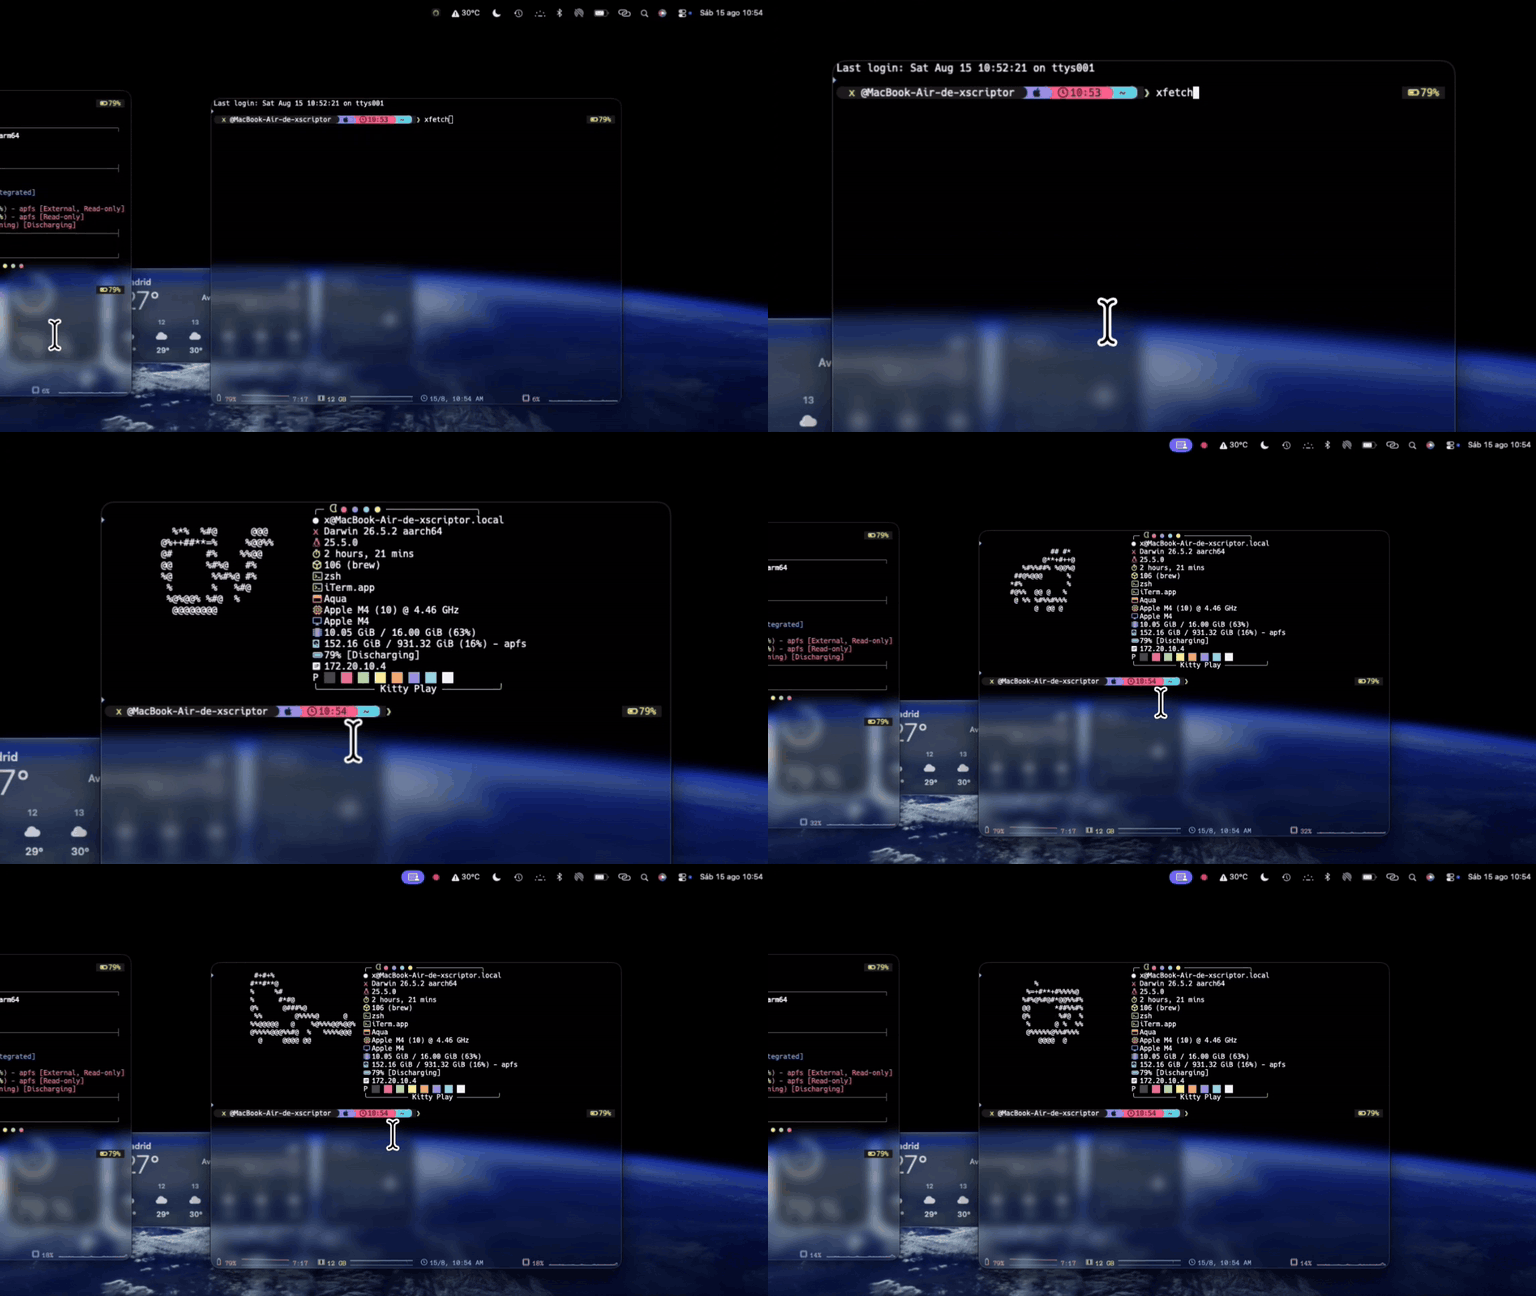
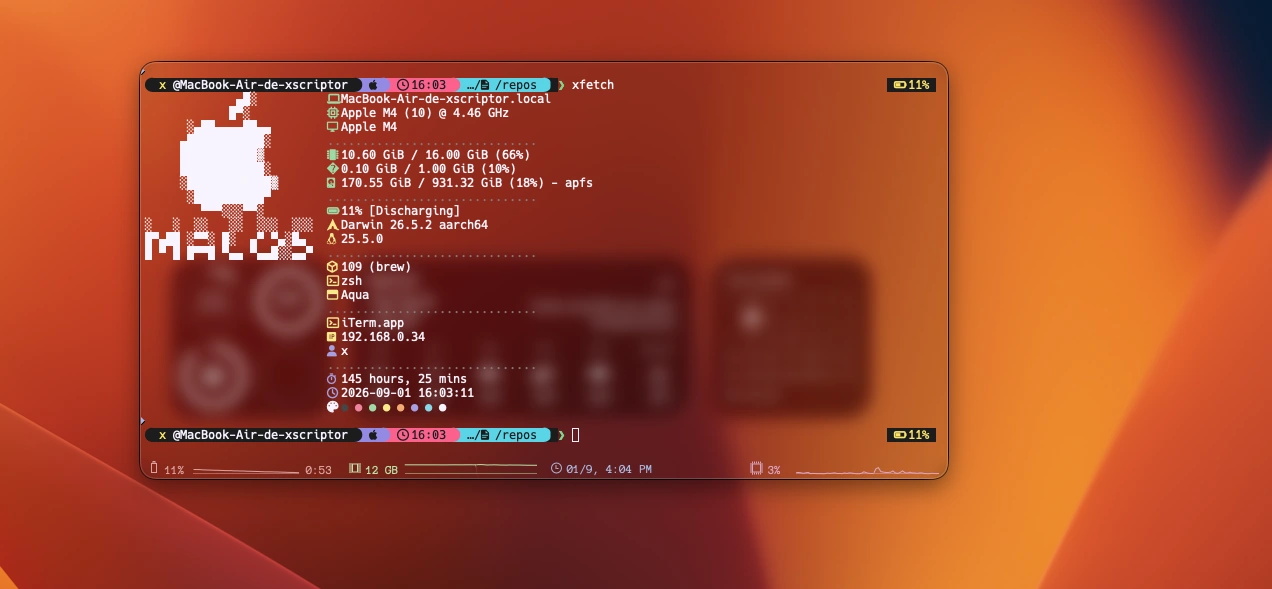
The side-by-side layout on macOS: ASCII logo on the left, system modules on the right, Homebrew package detection.
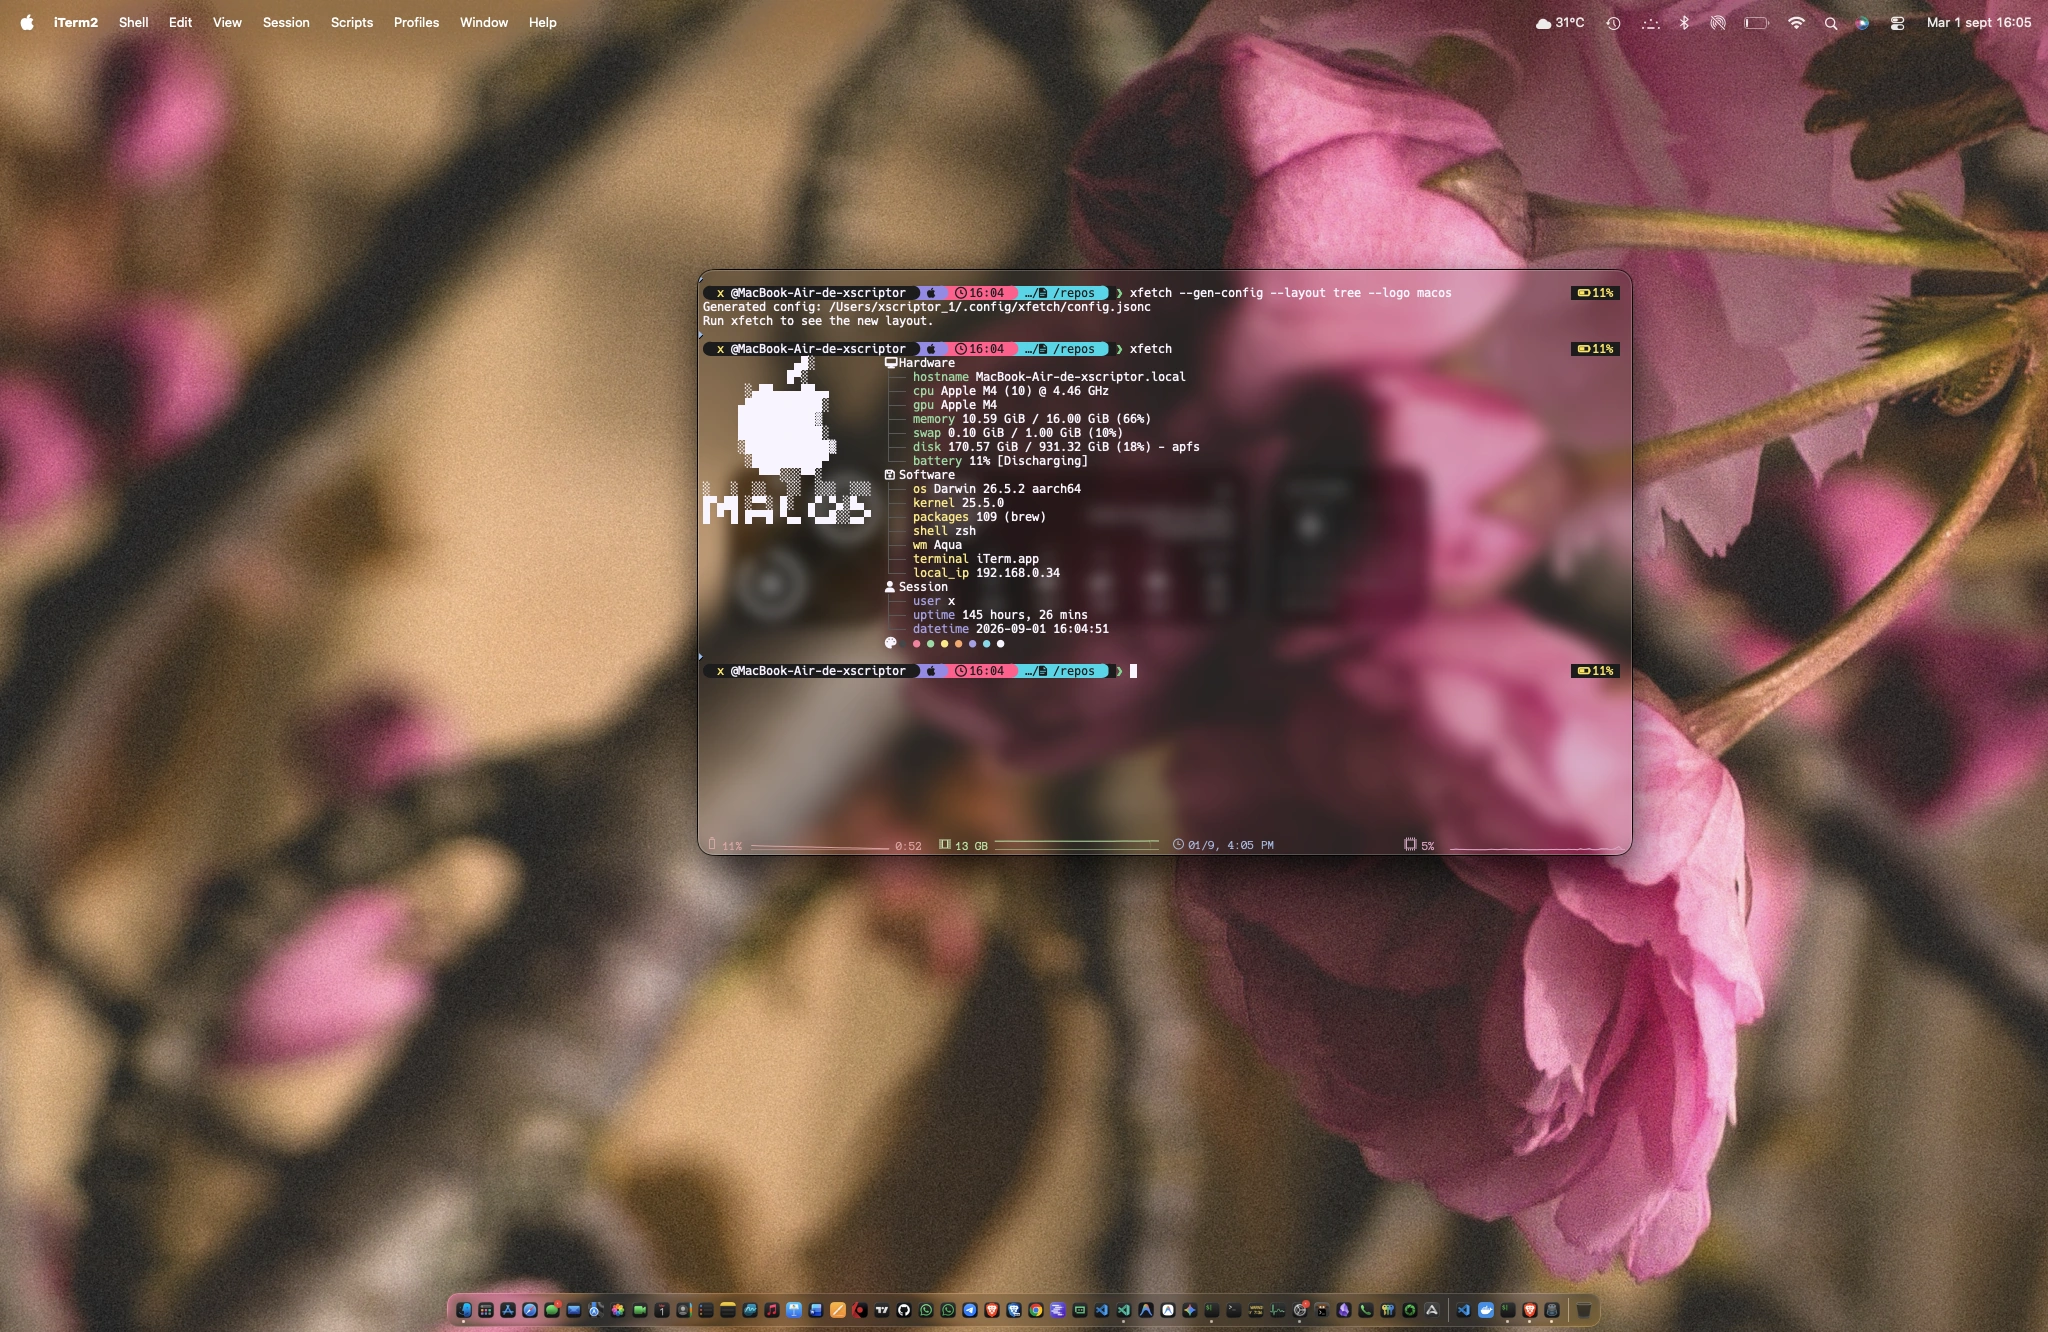
Full desktop capture: xfetch in Terminal alongside Finder, showing the ANSI palette and GPU info.